💻 Python Colab Gemini
การโปรแกรมและประยุกต์ใช้งาน Python Colab
ใช้ Gmail ในการสมัคร มีตัวอย่างและคำอธิบายดังด้านล่าง
- Google Colab: https://colab.research.google.com
- ระบบ Gemini: https://deepmind.google/technologies/gemini/
- YouTube Channel: @iTForLifebyAjNu
วิดีโอสอน Python Colab
EP1 ติดตั้งและใช้งาน Google Colab | เริ่มต้นใช้งาน Google Colab
EP2 Python Variable & Operator | ตัวแปร และเครื่องหมายทางคณิตศาสตร์
EP6 ตัวดำเนินการเปรียบเทียบในภาษา Python | Comparison Operator
Colab Features | ตารางแบบอินเทอร์แอกทีฟ มุมมองประวัติโค้ด
ข้อมูลเบื้องต้นเกี่ยวกับ Colab | Introduction to Colaboratory
ระบบ Gemini คืออะไร?
ระบบ Gemini หมายถึงระบบปัญญาประดิษฐ์ (AI) ประเภทโมเดลภาษาขนาดใหญ่ (LLM) ที่ Google พัฒนาขึ้น
จุดเด่นของ Gemini:
- ความสามารถหลากหลาย: แปลภาษา เขียนข้อความสร้างสรรค์ ตอบคำถาม วิเคราะห์ข้อมูล เขียนโค้ด
- ความแม่นยำสูง: ผลลัพธ์ใกล้เคียงกับงานที่มนุษย์ทำ
- ใช้งานง่าย: ผู้ใช้ทั่วไปสามารถใช้งานได้โดยไม่ต้องมีความรู้ทางเทคนิค
- มีประสิทธิภาพ: ทำงานได้รวดเร็ว
โมเดลย่อยของ Gemini:
- Gemini Ultra: โมเดลขนาดใหญ่ที่สุด เหมาะสำหรับงานที่ต้องการความละเอียดสูง
- Gemini Pro: โมเดลขนาดปานกลาง เหมาะสำหรับงานทั่วไป
- Gemini Nano: โมเดลขนาดเล็ก เหมาะสำหรับงานที่ต้องการความรวดเร็ว
Google Colab คืออะไร?
Colab หรือ “Colaboratory” ช่วยให้คุณสามารถเขียนและเรียกใช้ Python ในเบราว์เซอร์ได้ง่ายๆ
- ✅ ไม่ต้องกำหนดค่าใดๆ
- ✅ เข้าถึง GPU โดยไม่มีค่าใช้จ่าย
- ✅ แชร์ได้ง่าย
ไม่ว่าคุณจะเป็น นักเรียน/นักศึกษา, นักวิทยาศาสตร์ข้อมูล, หรือ นักวิจัย AI ระบบ Colab ก็ช่วยให้งานของคุณง่ายขึ้นได้
ตัวอย่างโค้ด Python จาก Gemini
1. พิมพ์ข้อความ “Hello World!”
Python
print("Hello World!")2. แสดงผลลัพธ์ของตัวแปร
Python
x = 10

y = "Python"

print("x =", x)

print("y =", y)
3. การคำนวณพื้นฐาน
Python
a = 5

b = 3

sum_result = a + b

difference = a - b

product = a * b

quotient = a / b

print("ผลรวม:", sum_result)

print("ผลต่าง:", difference)

print("ผลคูณ:", product)

print("ผลหาร:", quotient)
4. การใช้เงื่อนไข if-else
Python
age = 20

if age >= 18:

    print("คุณบรรลุนิติภาวะ")

else:

    print("คุณยังไม่บรรลุนิติภาวะ")
5. วนลูป for
Python
for i in range(5):

    print(i)
6. ฟังก์ชัน
Python
def say_hello():

    print("Hello!")

say_hello()
7. การอ่านไฟล์
Python
with open("myfile.txt", "r") as f:

    content = f.read()

    print(content)
8. การเขียนไฟล์
Python
with open("myfile.txt", "w") as f:
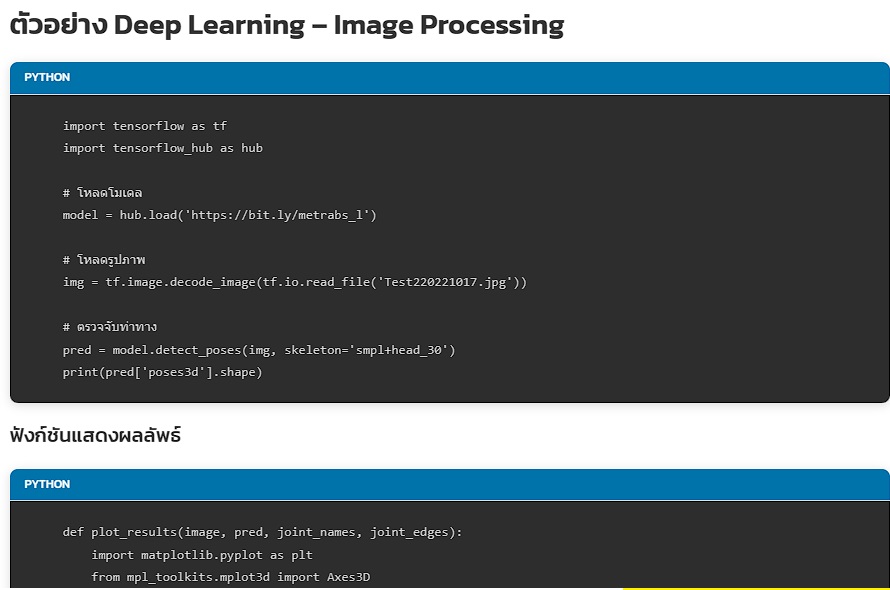
f.write("This is a new file.")ตัวอย่าง Deep Learning – Image Processing
Python
import tensorflow as tf

import tensorflow_hub as hub

# โหลดโมเดล

model = hub.load('https://bit.ly/metrabs_l')

# โหลดรูปภาพ

img = tf.image.decode_image(tf.io.read_file('Test220221017.jpg'))

# ตรวจจับท่าทาง

pred = model.detect_poses(img, skeleton='smpl+head_30')

print(pred['poses3d'].shape)
ฟังก์ชันแสดงผลลัพธ์
Python
def plot_results(image, pred, joint_names, joint_edges):

    import matplotlib.pyplot as plt

    from mpl_toolkits.mplot3d import Axes3D

    from matplotlib.patches import Rectangle

    fig = plt.figure(figsize=(10, 5.2))

    image_ax = fig.add_subplot(1, 2, 1)

    image_ax.imshow(image.numpy())

    for x, y, w, h, c in pred['boxes'].numpy():

        image_ax.add_patch(Rectangle((x, y), w, h, fill=False))

    pose_ax = fig.add_subplot(1, 2, 2, projection='3d')

    pose_ax.view_init(5, -75)

    pose_ax.set_xlim3d(-1500, 1500)

    pose_ax.set_zlim3d(-1500, 1500)

    pose_ax.set_ylim3d(2000, 5000)

    poses3d = pred['poses3d'].numpy()

    poses3d[..., 1], poses3d[..., 2] = poses3d[..., 2], -poses3d[..., 1]

    for pose3d, pose2d in zip(poses3d, pred['poses2d'].numpy()):

        for i_start, i_end in joint_edges:

            image_ax.plot(*zip(pose2d[i_start], pose2d[i_end]), marker='o', markersize=2)

            pose_ax.plot(*zip(pose3d[i_start], pose3d[i_end]), marker='o', markersize=2)

        image_ax.scatter(*pose2d.T, s=2)

        pose_ax.scatter(*pose3d.T, s=2)

# เรียกใช้งาน

joint_names = model.per_skeleton_joint_names['smpl+head_30'].numpy().astype(str)

joint_edges = model.per_skeleton_joint_edges['smpl+head_30'].numpy()

plot_results(img, pred, joint_names, joint_edges)
แหล่งข้อมูลเพิ่มเติม
การทำงานกับสมุดบันทึกใน Colab
- ภาพรวมของ Colaboratory
- ข้อมูลเบื้องต้นเกี่ยวกับ Markdown
- การนำเข้าไลบรารีและการติดตั้ง Dependencies
- การบันทึกและโหลดสมุดบันทึกใน GitHub
การทำงานกับข้อมูล
- การโหลดข้อมูล: ไดรฟ์ ชีต และ Google Cloud Storage
- แผนภูมิ: การแสดงข้อมูลเป็นภาพ
- การเริ่มต้นใช้งาน BigQuery
แมชชีนเลิร์นนิง
- ข้อมูลเบื้องต้นเกี่ยวกับ Pandas DataFrame
- การถดถอยเชิงเส้นกับ tf.keras
- TensorFlow กับ GPU
- TensorFlow กับ TPU
